Highlights:
-
Hardware dictates construction size: Always purchase and measure your drawer slides before cutting any wood, as different styles require strict, specific clearance tolerances (usually exactly 1/2 inch per side for side-mounted slides).
-
Prioritize structural squareness: A drawer box must be perfectly square to prevent it from binding; always verify this by ensuring diagonal measurements from corner to corner are identical during dry-fitting and assembly.
-
Select stable materials: Opt for dimensionally stable materials like high-quality Baltic birch plywood or properly acclimated hardwoods to prevent the wood from warping or expanding with seasonal humidity changes.
-
Align the cabinet carcass first: Ensure the inside walls of the cabinet hosting the drawers are perfectly parallel and perpendicular; use thin wood shims to correct any walls that flare out or pinch inward.
-
Utilize shop-made spacer blocks: Avoid tape measure errors by using identical scrap wood spacer blocks to position and install slide tracks uniformly on both sides of the cabinet interior.
-
Leave room for adjustment: Initially fasten your hardware using the elongated adjustment slots, allowing you to fine-tune the fit and eliminate friction before locking the tracks into place with permanent screws.
-
Mount false fronts from the inside out: Use double-sided tape and thin spacers to perfectly align the decorative drawer faces within the cabinet opening before securing them permanently with screws from inside the box.
Few things in a home are as frustrating as a sticky, stubborn drawer. You pull on the handle, it resists, jams at an angle, and finally opens with a loud jerk, rattling everything inside. On the flip side, a drawer that glides open with the gentle push of a single finger feels like pure luxury. It is a subtle detail, but high-functioning cabinetry is one of those essential home upgrades that simplify daily living by removing a minor friction point from your routine dozens of times a day.
Building a drawer that operates flawlessly every time is not a matter of luck or using expensive exotic woods. It comes down to precision, choosing the right hardware, and understanding how wood moves. Whether you are building custom kitchen cabinets, a bedroom dresser, or workshop storage, mastering the art of the smooth-sliding drawer will instantly elevate your woodworking projects from amateur to professional grade.
The Anatomy of a Perfect Drawer Box
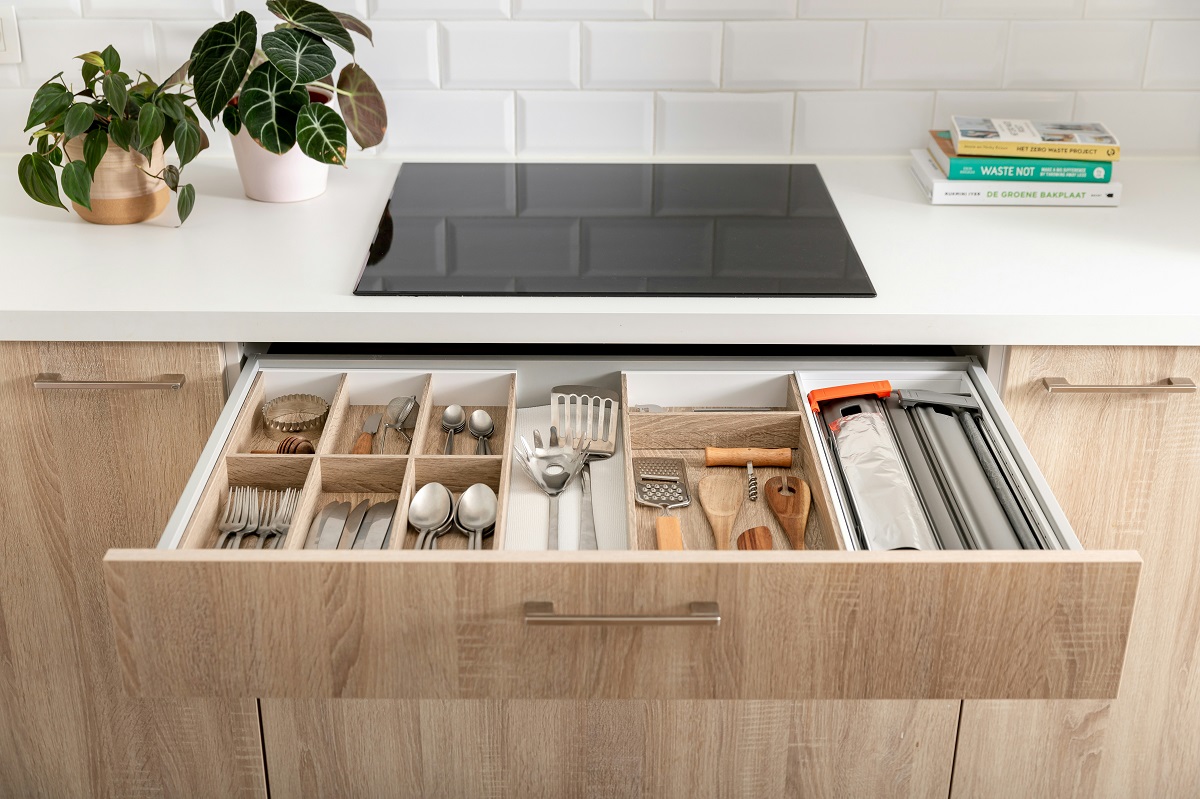
Before cutting any wood, you need to understand how a drawer box is constructed for maximum durability and smooth operation. A standard drawer consists of five main components: the front, the back, two sides, and the bottom panel.
The sides of the drawer should always bypass the front and back pieces. This orientation ensures that when you pull on the drawer handle, the mechanical force is pulling against the wood joints rather than pulling the front face right off the box. The bottom panel should ideally be trapped in grooves cut into the sides, front, and back, allowing it to float freely so the solid wood can expand and contract with seasonal changes in humidity.
Choosing the Right Slide Hardware
Your choice of drawer slides dictates your entire building process. You cannot build the box first and choose the slides later, because different hardware options require completely different spatial tolerances.
-
Side-Mounted Roller Slides: These are the classic, budget-friendly white epoxy slides. They are forgiving to install and ride on nylon wheels. They require exactly 1/2 inch of clearance on each side of the drawer box.
-
Ball-Bearing Slides: These offer a much smoother feel and can handle significantly heavier loads. They mount to the sides of the drawer and also require a strict 1/2 inch clearance on each side. Many models offer full-extension, allowing the drawer to open completely past the face frame.
-
Undermount Slides: The gold standard for high-end cabinetry. These slides mount beneath the drawer box, hiding the hardware entirely from view when the drawer is open. They provide a premium, smooth glide and often feature soft-close mechanisms, but they require highly specific drawer construction tolerances, usually requiring a recessed bottom.
-
Traditional Wooden Runners: If you are building a period-correct piece of furniture, you might skip metal hardware altogether. Wooden drawers slide on wooden runners built into the cabinet carcass. Achieving a smooth slide here requires careful hand-planing and lubrication like paste wax or paraffin.
The Golden Rule of Clearance and Tolerances
The single most common reason drawers bind or stick is inaccurate math during the design phase. Metal side-mounted slides are notoriously unforgiving. If your cabinet opening is 15 inches wide, and your slides require 1/2 inch of clearance on each side, your finished drawer box must be exactly 14 inches wide.
If the drawer box is even 1/16 of an inch too wide, the slides will bind and compressed bearings will grind. If the box is 1/16 of an inch too narrow, the slide members will not engage properly, causing the drawer to slip off its tracks or sag. Invest in a reliable digital caliper to check your material thicknesses and opening widths before making a single cut.
Selecting and Preparing Your Lumber
The materials you choose play a massive role in how well your drawer holds its shape over time. Plywood is an excellent choice for drawer boxes because it is dimensionally stable, meaning it will not warp, cup, or expand significantly with weather changes. Look for high-quality Baltic birch plywood, which features void-free plies that hold fasteners exceptionally well.
If you prefer solid wood, opt for stable hardwoods like soft maple, poplar, or oak. Avoid construction-grade softwoods from the home center, as they contain high moisture levels and are prone to twisting as they dry out in a climate-controlled house. Once you select your lumber, mill it flat and square, ensuring that all pieces are uniform in thickness.
Step-by-Step Box Construction for Maximum Squareness
A drawer that is not perfectly square will never slide smoothly. Even if your measurements are correct, a skewed box will wedge itself sideways in the cabinet opening.
-
Cut all your components to length using a crosscut sled on your table saw to ensure perfectly square 90-degree ends.
-
Cut the grooves for the drawer bottom panel. A standard depth is 1/4 inch, placed roughly 1/2 inch up from the bottom edge of the drawer sides, front, and back.
-
Choose your joinery method. Dovetails are the strongest and most traditional, but pocket holes or simple locking rabbet joints reinforced with brad nails work beautifully when executed accurately.
-
Dry-fit the entire box without glue first. Measure diagonally from corner to corner in an “X” shape. If both diagonal measurements are identical, your box is perfectly square.
-
Apply glue, assemble the box, and clamp it lightly. Re-verify your diagonal measurements before the glue sets, adjusting your clamps if necessary to pull the box into perfect square.
Preparing the Cabinet Carcass
A perfect drawer box means nothing if the cabinet carcass hosting it is warped or out of alignment. The inside walls of your cabinet must be perfectly parallel to one another and perpendicular to the face frame.
Before installing your slides, use spacer blocks to check the distance between the cabinet walls at the front, middle, and back of the opening. If the cabinet pinches inward at the back, your drawers will jam the further you push them in. If the walls flare outward, the slides will lose contact. Use thin wood shims behind your slide tracks to correct any discrepancies in the cabinet walls.
Installing Slide Hardware with Absolute Precision
Installing the metal tracks inside the cabinet can be awkward, but using shop-made jigs makes the process foolproof. Instead of measuring and marking lines with a tape measure on both sides of the cabinet, cut two identical pieces of scrap plywood to act as spacer blocks.
Place the spacer blocks on the bottom of the cabinet, rest your slide tracks directly on top of them, and push the tracks flush against the front frame. Drive your screws into the center of the elongated horizontal mounting holes first. These horizontal slots allow you to adjust the slide forward or backward later if needed. Once the first pair of slides is secure, cut the spacer blocks down to the height of the next drawer level and repeat the process.
Mounting the Slides to the Drawer Box
With the cabinet tracks installed, it is time to attach the mating pieces to the drawer box itself. For side-mounted slides, the track must run perfectly parallel to the bottom edge of the drawer.
Set the drawer box on its side on a flat workbench. Use a small scrap piece of 1/8-inch plywood as a spacer under the front and back of the slide to elevate it uniformly off the workbench surface. This creates a consistent reveal and ensures the slide runs straight along the box. Fasten the slide using the vertical adjustment slots this time. This gives you the ability to fine-tune the height of the drawer box once it is inside the cabinet.
Troubleshooting and Fine-Tuning the Glide
When you insert the drawer into the cabinet for the first time, it might not feel perfect immediately. Do not panic; this is where fine-tuning comes into play.
-
If the drawer resists in the last few inches: The cabinet walls are likely narrower at the back than the front. Loosen the rear screws of the cabinet tracks and insert a thin shim to push the track inward.
-
If the drawer rattles or feels loose: The cabinet walls may be too far apart. You can back out the screws on the drawer-side tracks and place paper or veneer shims behind them to widen the drawer profile.
-
If the drawer rubs against the frame: Use the vertical adjustment slots on the drawer box to raise or lower the box until it centers perfectly within the opening.
Once everything operates seamlessly, drive home the remaining locking screws into the round, non-adjustable holes of the tracks to lock the hardware permanently into position.
Installing the Decorative Drawer Fronts
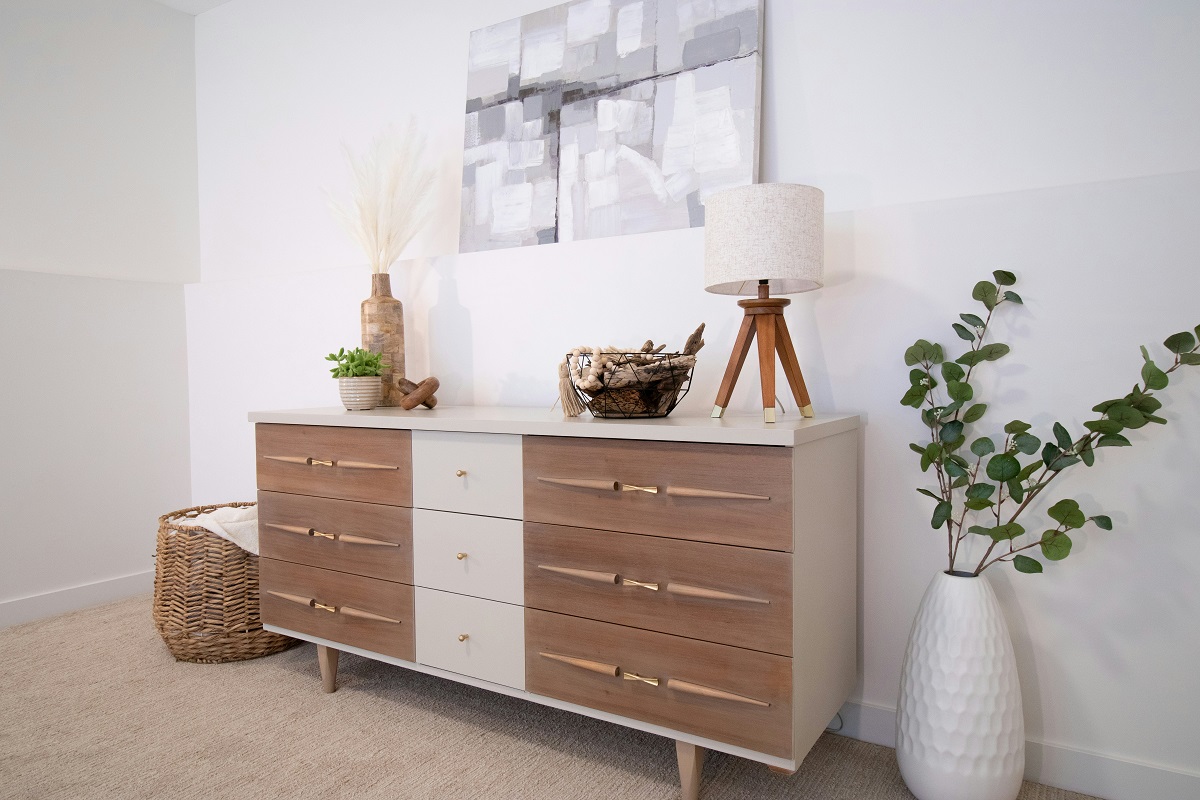
The final step in achieving a pro-level finish is mounting the decorative false fronts so that all your gaps and reveals are perfectly uniform. The easiest way to do this is from the inside out.
Insert your drawer boxes completely into the cabinet. Apply heavy-duty double-sided tape to the front of the hidden drawer box. Position your decorative drawer front in the opening, using playing cards or plastic spacers around the edges to ensure an equal gap on all four sides. Press the front firmly against the tape. Carefully pull the drawer open without shifting the front, and drive wood screws from the inside of the drawer box straight into the back of the decorative front to secure it forever.
Wrapping It Up
Building drawers that slide smoothly every time is not about mastering a hidden woodworking secret; it is about respecting the details. By taking the time to square your cabinet carcass, calculating your hardware tolerances down to the millimeter, and using clever shop-made jigs for installation, you eliminate the guesswork that leads to sticky, frustrating cabinetry.
When you slide that finished drawer into place and feel it glide effortlessly to a gentle close, the reward is immediate. This meticulous attention to detail elevates the quality of your entire project and turns an ordinary piece of furniture into a functional masterpiece. With these professional techniques in your woodworking toolkit, you can confidently approach your next build knowing that every drawer you create will perform flawlessly for years to come.